Your session checklist
Tick a row only after your own game confirms the job or the optional objective. Progress is saved in this browser and is not read from Steam or a save file, so clearing the boxes will not change your game.
What Actually Counts as a Collectable
Sniper Dan never opens a collectables menu. What the game adds instead is a second layer of optional entries sitting beside the named jobs: a banana count, a litter count, small props such as firecrackers, and objects that pay out when you shoot them. Release-day footage shows all of these turning up in Perky Park and Happy Harbour while the ordinary job list is being worked.
Bananas behave like objects rather than pickups. They sit on whale heads, boats and ledges, and one recorded run has a child slipping over a banana peel. A counter beside the objective tells you how many are in that location, and clearing the full set pays a bonus on top of the job's own reward.
Litter works the same way and only appears once the job list switches the objective on; one player noticed the remove-the-litter entry appearing after the first banana was gone. Coins are the loose end of the system: shooting ordinary scenery sometimes produces one, and at least one player found a secret coin inside an object that was not the treasure they were hunting. Which props pay out is worth testing in your own run rather than trusting a list.
How to Scan a Scene Without Wasting Shots
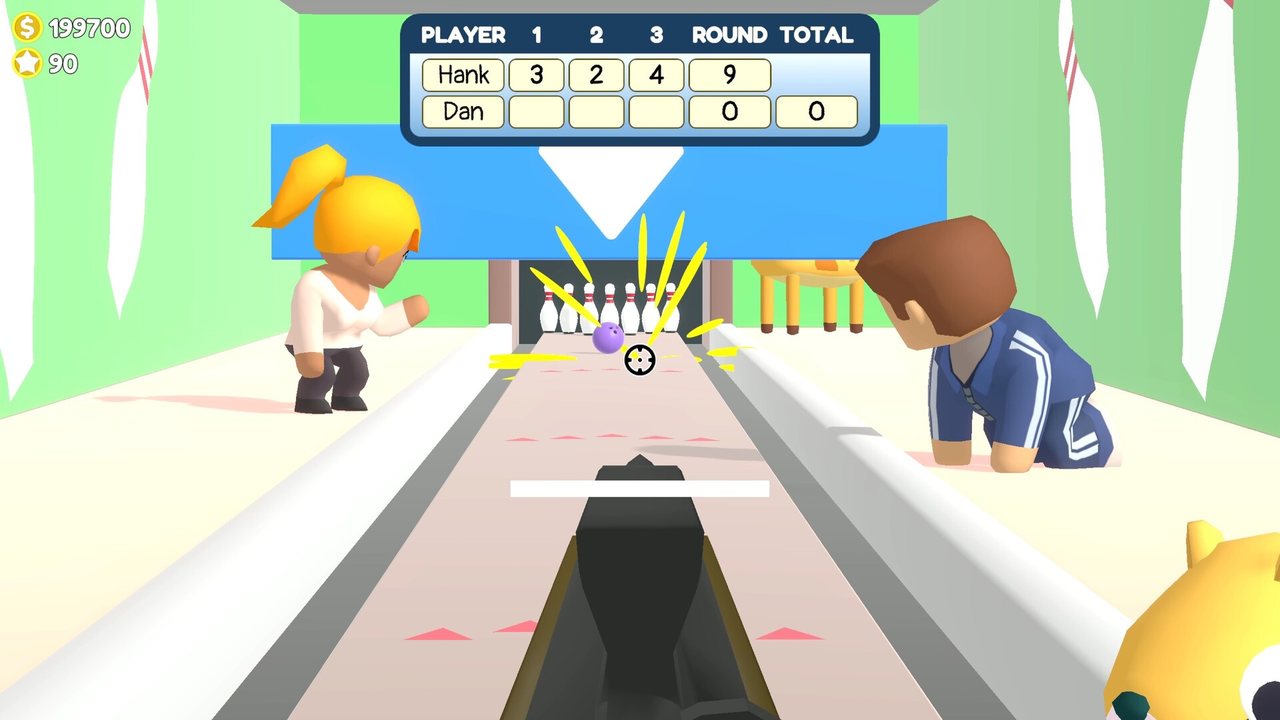
The obvious approach, spraying every prop in sight, is the one that costs you. The work review records bad hits, so a shot that achieves nothing still counts against the shift: one player spent much of a run shooting hats off bystanders and finished it having failed every job, while another described money draining away as he shot person after person. Shooting people and animals is treated as a penalty, and a player who wanted to shoot the chicken on principle refused because he knew it would cost him.
Movement and zoom are free, shots are not. The rifle zooms far further than the opening scene suggests, and one player only discovered the full zoom range partway into a shift. Scanning slowly costs nothing except time, and time is only expensive while an emergency call is running.
- 01Open the job list first and read the exact wording of the active clue.
- 02Start at minimum zoom and split the scene into bands: waterline, midground, rooflines, frame edges.
- 03Clear the optional set (bananas, litter, firecrackers) before the last named job finishes, because completion sends you back to the office.
- 04Zoom in on anything that looks out of place: a hat in a bush, a bowl, a sign, a prop with a lever or button.
- 05Only spend a hint once the whole scene has been searched; hints and new-location permits are both priced in stars.
Watch the linked creator’s original gameplay. Use the current in-game clues if the setup differs.
What to Look For, and Why It Is Easy to Miss
Across the recordings, the hard finds are not in clever places. They sit in plain sight, inside the part of the frame a named job has already trained you to look at, which is why the same categories keep costing players whole shifts.
Two patterns deserve spelling out. Duplicate candidates come first: Happy Harbour holds more than one pelican, and one player shot hats off the wrong bird for most of a shift before finding the one carrying the stolen hat, while the peg-leg search went the same way with both obvious candidates wrong. Containers come second: the clownfish sits in a bowl several players had already looked at without registering it, and the final optional item is usually tucked behind or under something rather than waiting in an unvisited corner of the map.
| What to look for | Where it tends to hide | Why it is easy to miss |
|---|---|---|
| Bananas and banana peels | Perky Park and Happy Harbour, on whale heads, boats and ledges inside the working scene | They read as scenery, and players kept mistaking fish tails and hats for them |
| Litter you can remove | Happy Harbour, out in the open once the job list switches the objective on | It only appears after another part of the shift is done, so you may never look for it |
| Firecrackers and fireworks | Small props sitting in the open beside the named jobs in park and harbour scenes | They are tiny, and the last one is often tucked behind something, so players go back for it |
| Coins and secret coins | Inside ordinary props that turn into a payout when shot | You only learn which props pay out by trying, and every wasted shot is scored |
| One-off finds such as the clownfish | Happy Harbour, in a bowl or small container close to people | It is small, easy to see past, and can eat an entire shift on its own |
| An NPC carrying the item you need | Happy Harbour: a pelican with a stolen hat, a peg-legged pirate, a fisherman using dynamite | There are usually two candidates and the first one is the wrong one |
| Photo spots marked in the scene | Anywhere a sign or camera marker sits on a building or landmark | Without the camera they look like ordinary signage, so most players walk past |
What the Game Rewards You For
Jobs pay cash and reputation, and the office turns those into compounding advantages. Most decorations add a small permanent bonus to what each completed job pays out, and the office view shows the total as a percentage rather than a list. Rifle parts that cut reload time or add rounds to the magazine reduce the number of shots a puzzle takes, which feeds straight back into your rating.
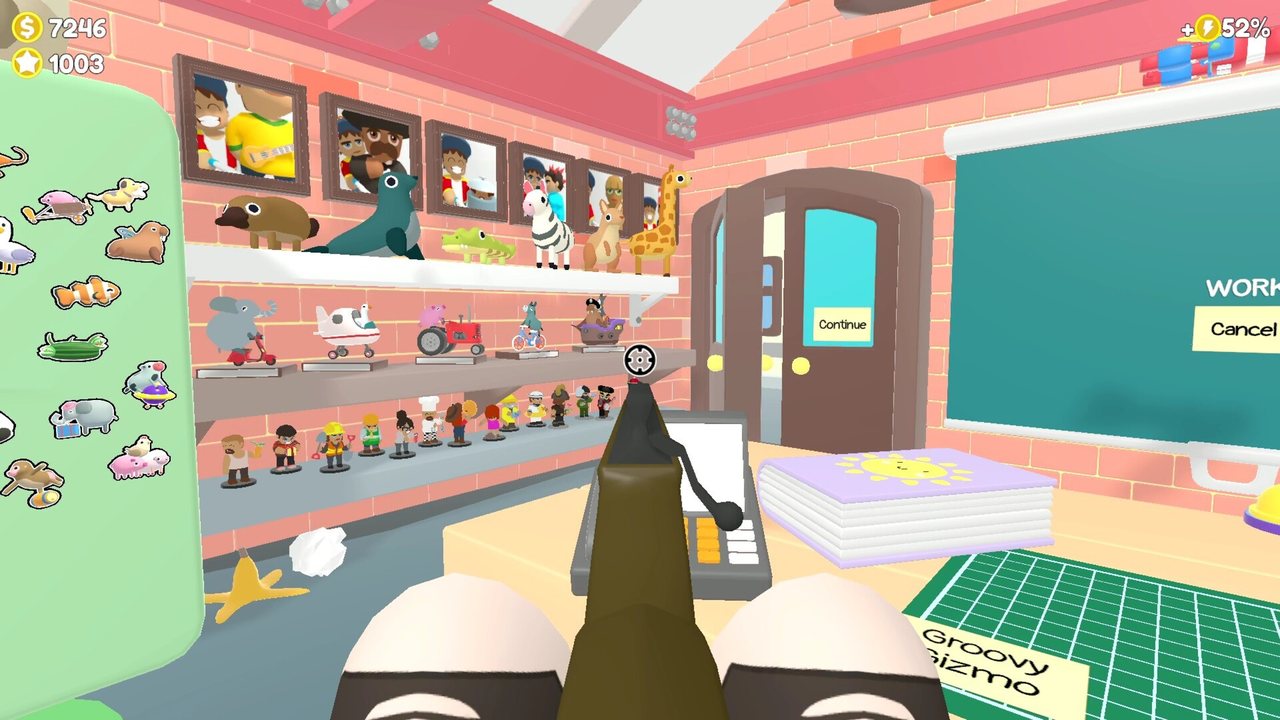
Prizes arrive in two ways. Parcels turn up at the office from Magic Market and you shoot them open, and some carry trophies worth showing off: magnets, plushies and gacha pon dolls. Those have nowhere to live until you own the shelf and the fridge, so displaying them is a spend-then-show loop rather than a pure collection. A second track rewards cumulative play, with one prize handed over for an earnings milestone and another for a number of market purchases.
Photo spots are a separate system from the loot. Camera markers and signs stand in the scenes, and the fancy camera sold at the market is what turns them into something you can photograph to record a shift; players describe it as the reason those spots exist. Achievements are the least predictable part of the game. One popped in footage from a shot at what looked like ordinary scenery, and no list of them is published, so treat an achievement as a bonus rather than a target.
No Complete List Exists, So Verify These Yourself
The publisher advertises six locations, more than a hundred secrets and funny photo opportunities. That is a store-page feature statement rather than an audited list of positions, and the recordings behind this page mix release-day sessions with earlier demo builds in which several items were marked available only in the full version.
Two details in the footage make a fixed map a bad idea. Players replaying a location report that anything which is not a static prop changes position between visits, and a second day in Happy Harbour reset the job list with one change: the barnacles on the ship were gone. The clue wording is the stable part of a puzzle; the position is not.
Where the recordings disagree, check your own run. The advertised secret count has no itemised list anywhere in the footage, and the optional counters read per location rather than across the whole game. On Funky Farm the players guessed that finishing the last main objective would send them back, did it anyway, and were indeed sent back with two bonus objectives still unclaimed. If your job list names something this page does not, that is the game being itself rather than a gap in your session.
Nothing here counts as 100% completion, in game or on this page. The seven boxes above are session habits you can honestly tick, not a secret tracker.
Further viewing and references
For precise targets, compare your own current mission against the source footage. Older demo material and screenshots may differ from the full release.